Start the Project#
The cookiecutter-plone-starter equips you with essential tools to initiate a local development environment. The new project offers two methods to launch your project: manually starting the Backend and Frontend servers, or utilizing a Docker Compose stack.
Running Local Servers#
This method requires two terminals as both Backend and Frontend operate in foreground mode. It's optimal for local development due to its swift change and restart cycle. However, accessing each server on their internal ports can lead to CORS issues in real-world deployments.
Starting the Backend#
Navigate to the project's root folder and execute:
make start-backend
This command initiates the Backend server. Upon successful startup, you'll observe:
... INFO [waitress:486][MainThread] Serving on http://127.0.0.1:8080
Indicating the server is operational and awaiting requests on port 8080. Visit http://localhost:8080 to explore.
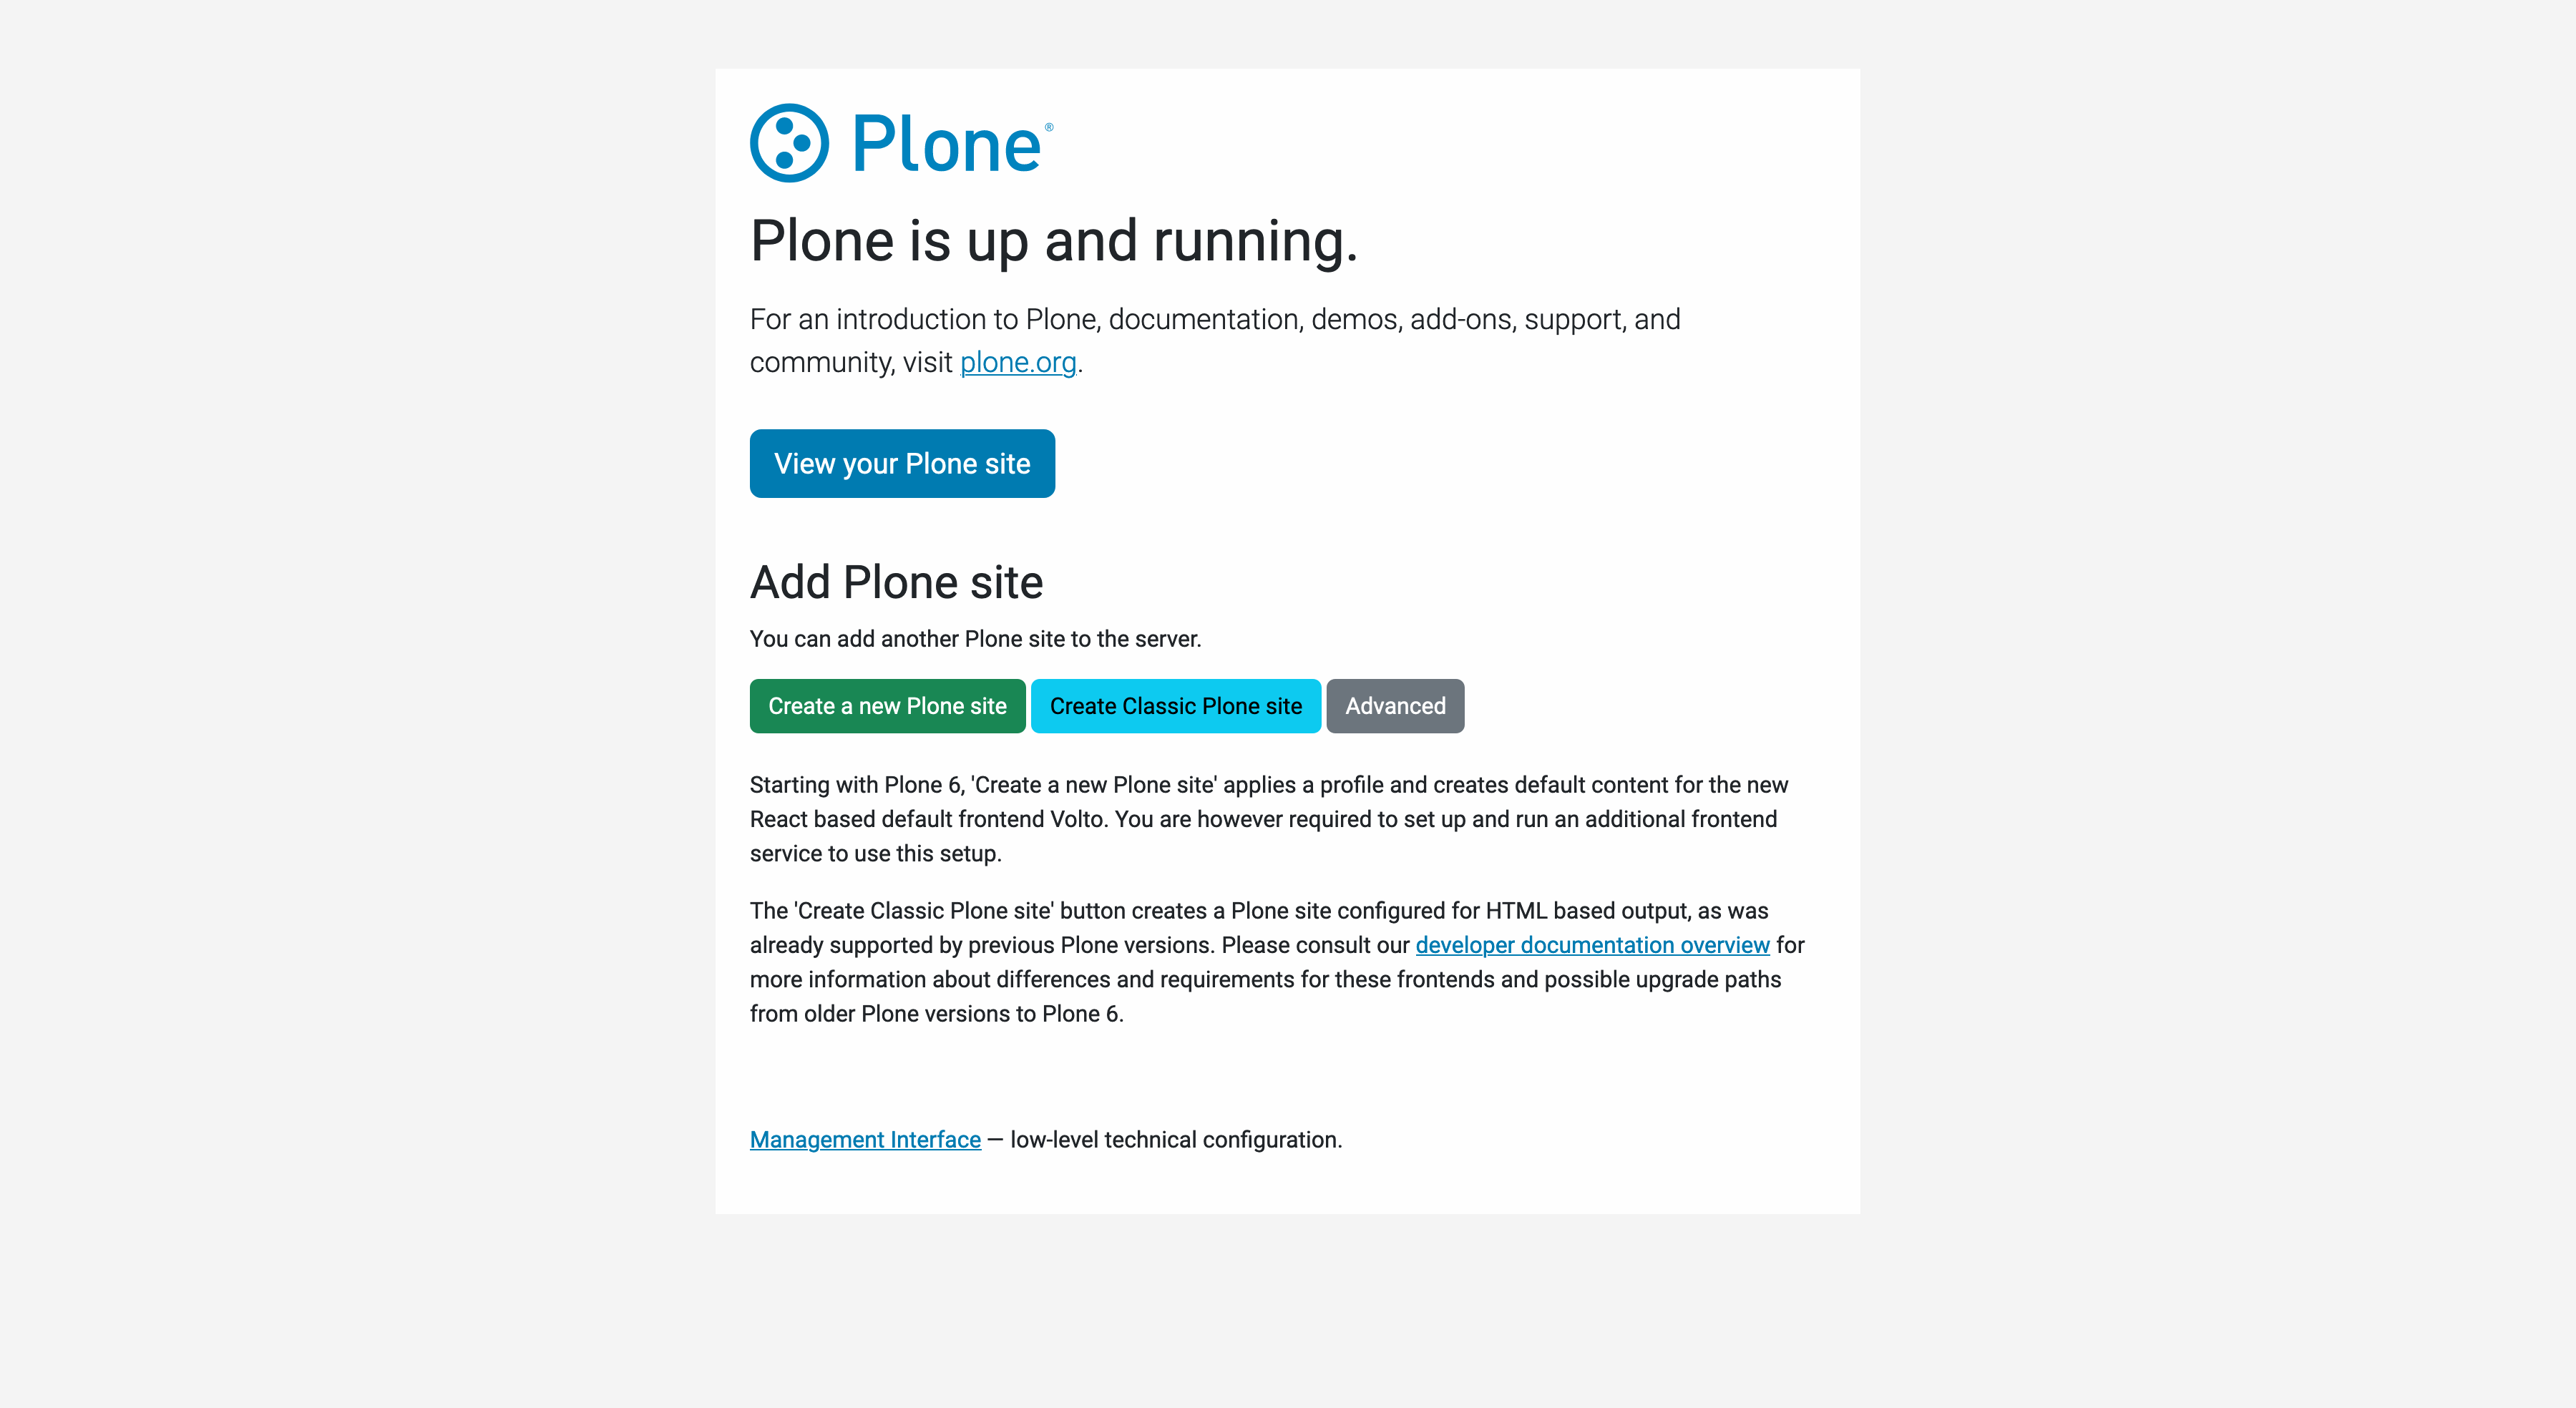
Backend server initiation at http://localhost:8080#
Starting the Frontend#
In a new terminal at the project root, execute:
make start-frontend
The Frontend initiation takes longer due to the initial codebase compilation. A successful startup displays:
🎭 Volto started at 0.0.0.0:3000 🚀
Signifying the Frontend server is active on port 3000. Access it via http://localhost:3000.
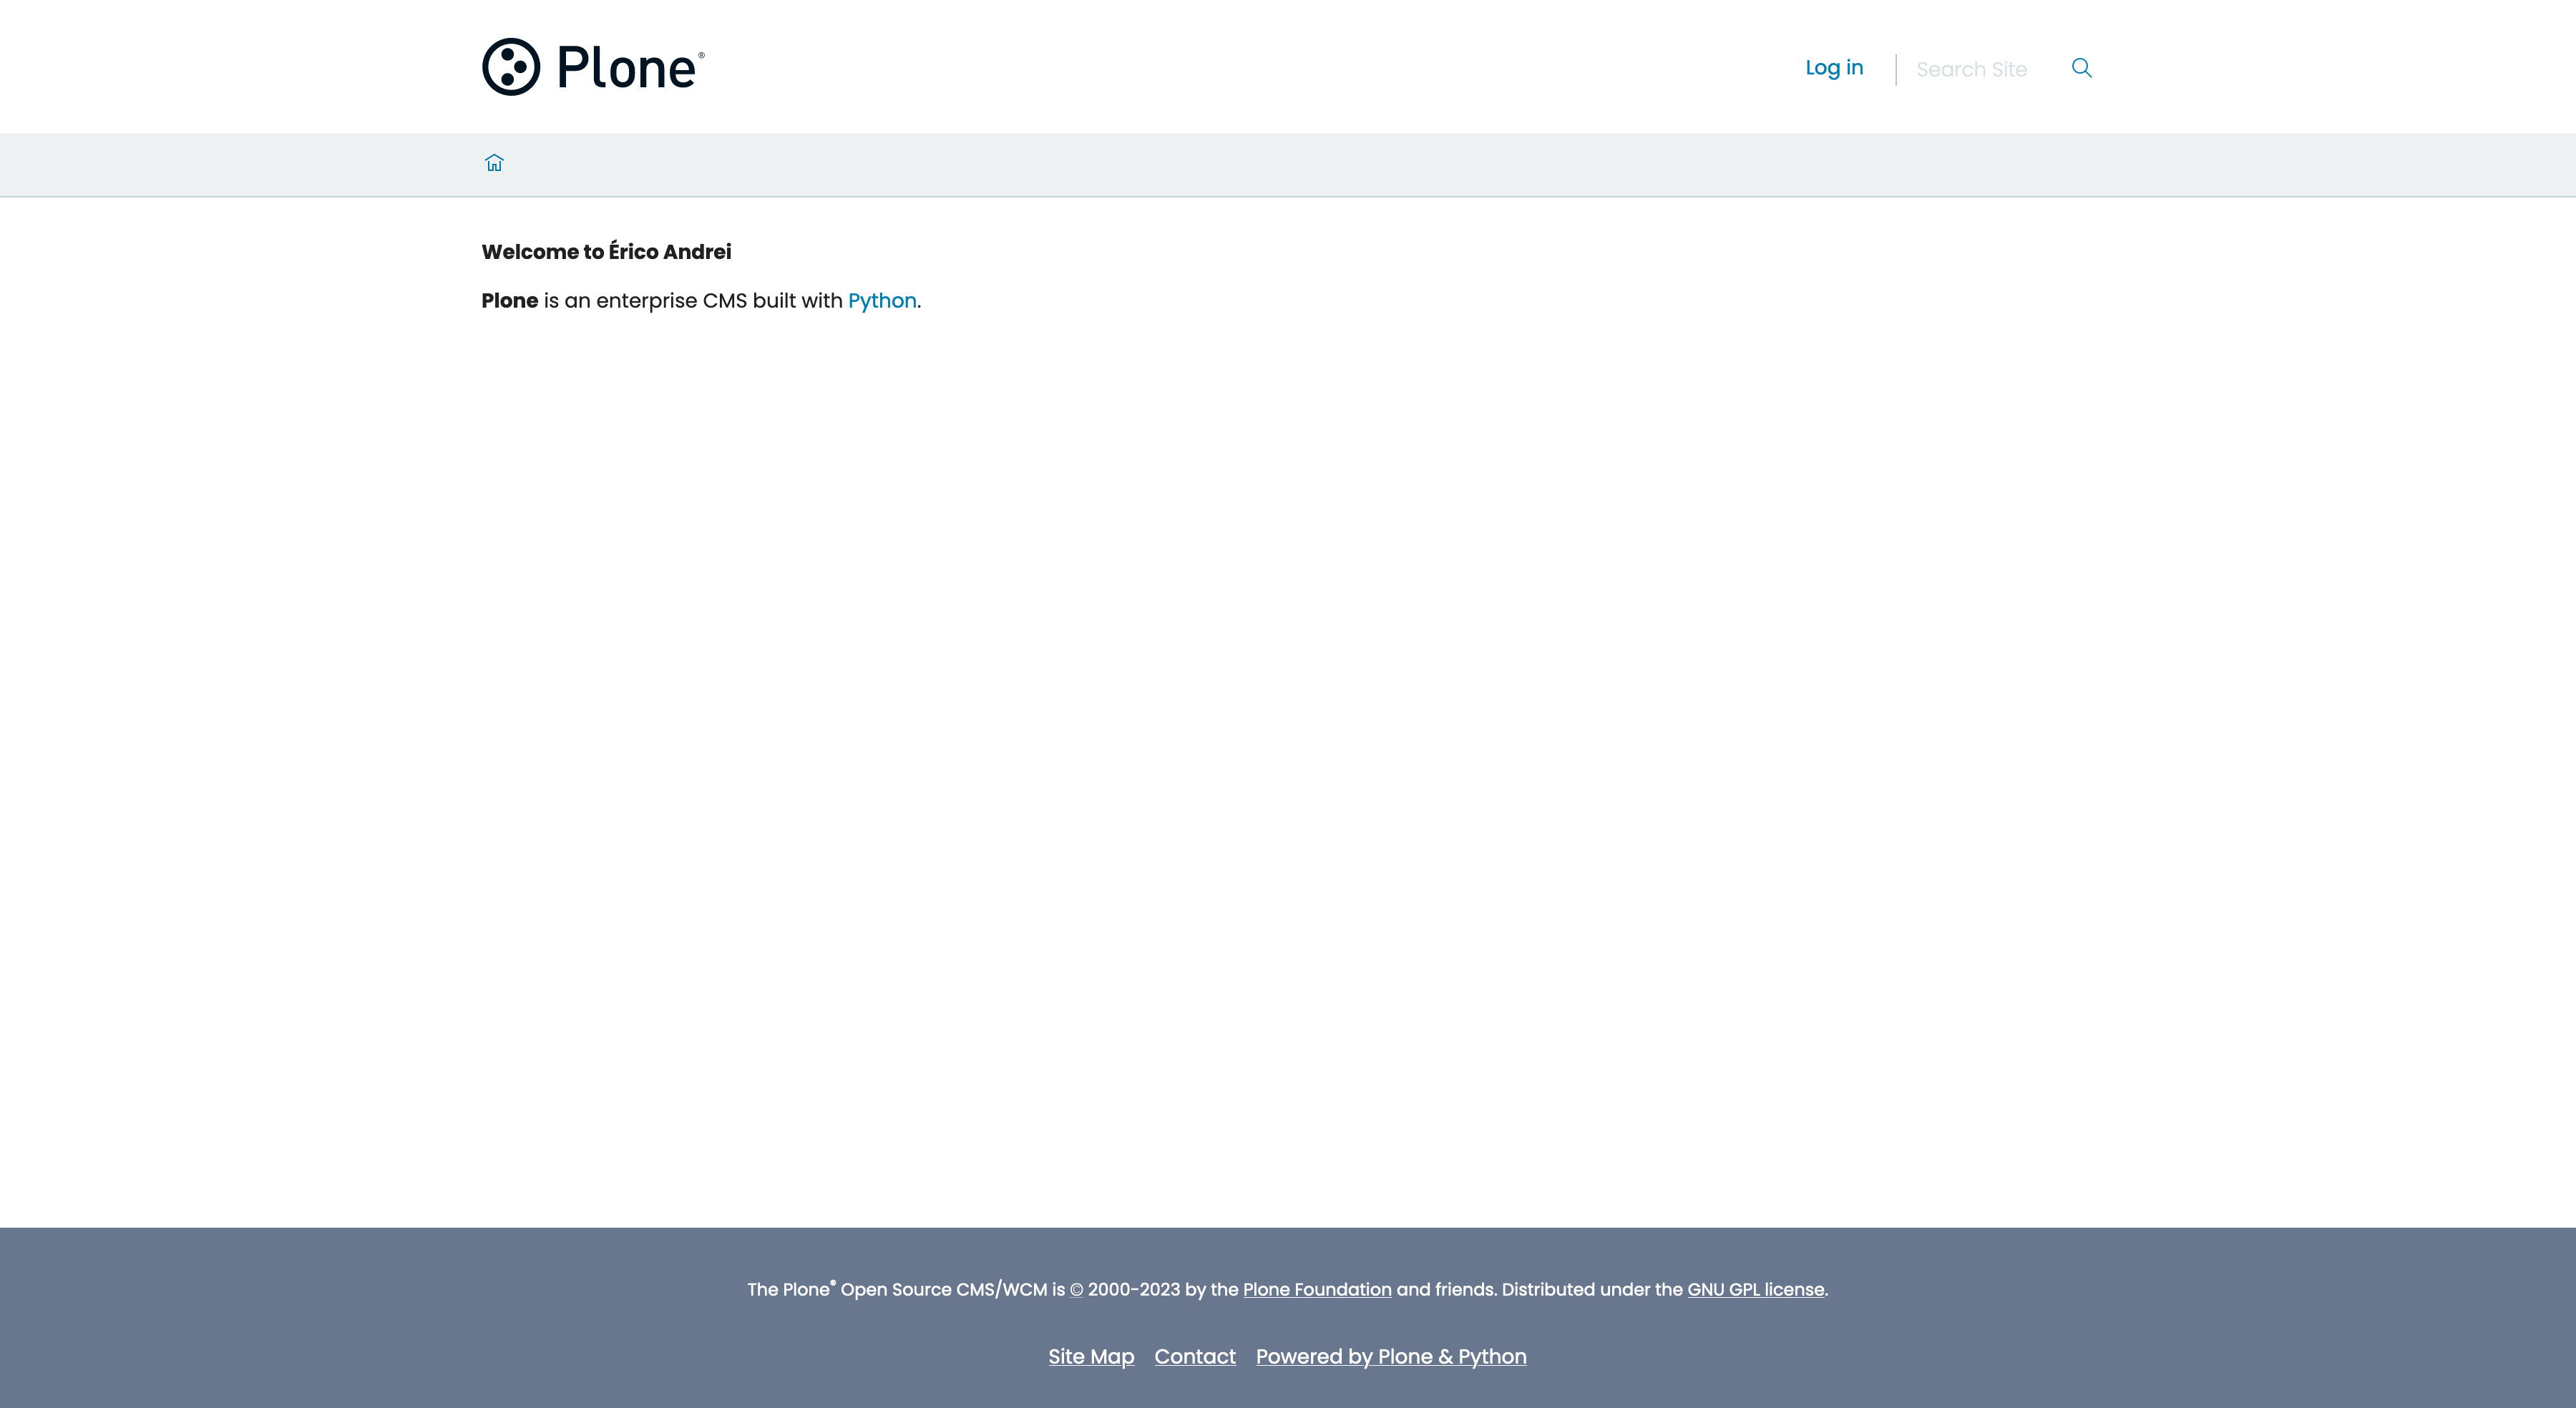
Frontend server initiation at http://localhost:3000#
Note
Default credentials: admin/admin.
Stopping the servers#
In both terminals, press Ctrl-C.
Running Docker Compose#
Docker Compose is suitable for reviewing your development progress or exploring the project. It comprises four services: Traefik webserver, Frontend, Backend, and a Postgres database, mimicking a production environment.
Note
A secondary Backend route, /ClassicUI, mirrors http://localhost:8080/Plone. It's secured with Basic Authentication, default credentials being admin/admin.
Starting the Stack#
Ensure port 80 is free, then initiate the stack with:
make stack-start
Docker will download necessary images, build Frontend and Backend images, and initiate all services. Upon completion, a message prompts you to visit http://ploneconf2023.localhost.
Checking the Stack Status#
Verify the stack’s operational status with:
make stack-status
Initially, the Frontend may display an (unhealthy) status due to the absence of a created Plone site.
Creating a New Plone Site#
Initiate a new Plone site within the Docker Compose Stack by executing:
make stack-create-site
Re-run make stack-status, and both Backend and Frontend should now display a (healthy) status.
Accessing the Site#
Your website is accessible at http://ploneconf2023.localhost.

Accessing the site at http://ploneconf2023.localhost#
Updating the Codebase#
For codebase modifications, re-run make stack-start to rebuild the affected containers, ensuring your site’s behavior aligns with the updates.
Stopping the Stack#
To halt the stack while preserving site data, execute:
make stack-stop
Removing the Stack#
To dismantle the stack and erase all site data, use:
make stack-rm